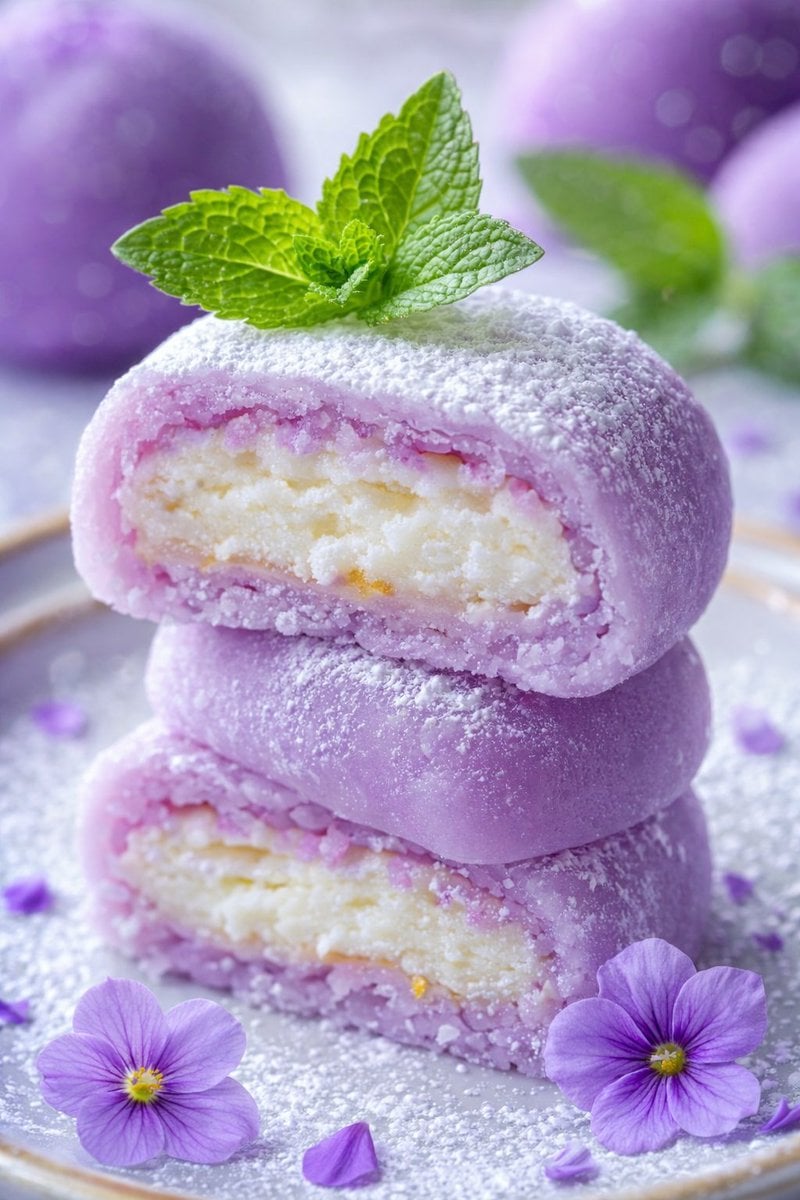
정교한 케이크 두 종류 매크로 사진 템플릿
추천 모델, 활용 사례, 사용 단계를 먼저 확인한 후 적용 방법을 결정하세요.
이 유형의 템플릿은 화면 구조를 먼저 유지한 뒤 피사체, 스타일 또는 비즈니스 요구 사항을 바꾸는 방식에 적합합니다. Google Imagen4(으)로 먼저 시작한 뒤 결과에 따라 같은 유형의 다른 모델로 전환해 보세요.
어떤 모델부터 사용할지 모르겠다면 작성자가 추천한 모델에서 시작해 보세요.
프롬프트 내용
추천 모델, 활용 사례, 사용 단계를 먼저 확인한 후 적용 방법을 결정하세요.
8K UHD, AI-edited hyper-realistic food photography 질감의 하이엔드 디저트 사진을 만드세요. ultra-high quality, extreme micro-detail, lossless clean output, studio-controlled cinematic lighting, selective shallow depth of field를 요구하고 케이크, 아이싱, 잼과 접시 위 가루의 texture emphasis를 극대화합니다. 카메라는 full-frame DSLR / mirrorless equivalent, macro prime lens, 85mm~105mm, f/2.8, low ISO, studio synchronized shutter, neutral image-matched white balance로 설정합니다. 첫 번째 모듈은 square matcha cheesecake slice입니다. portrait orientation, three-quarter front view로 dark ceramic plate 중앙에 두고 tight food-focused crop을 사용합니다. 케이크는 glossy matcha glaze with visible drip trails, smooth pale-green cheesecake body, thin golden biscuit crust로 구성하며 표면에는 reflective slow-dripping matcha glaze, matcha powder dusted on top and plate, fine crumbs near base를 표현합니다. 상단에는 round green confection, fresh mint leaves, single raspberry를 놓고 접시에는 extra raspberry, mint leaves, matcha powder를 더합니다. 배경은 dark charcoal / black이고 green sauce가 담긴 blurred black bowl이 보입니다. 조명은 upper left에서 부드럽게 비추며 유약에는 strong specular highlights를 만들고 분위기는 luxurious, modern, minimal, gourmet입니다. 두 번째 모듈은 blue and white layered cake slice입니다. portrait orientation, slightly elevated front angle로 white decorative plate에 놓습니다. soft white sponge layers, translucent blue jelly layers with sparkle, smooth pastel blue glaze가 층을 이루고 앞면에는 single vertical glossy blue drip, 젤리 안에는 tiny reflective particles, 상단에는 glass-like blue spheres를 둡니다. dark glossy cherry with long stem, three transparent blue spheres, tiny star-shaped sprinkles로 장식하고 접시에는 subtle sugar-like sparkles를 넣습니다. 배경은 light icy blue에 soft bokeh dots와 partially visible white ribbon을 더하며 soft frontal light와 even fill light로 유리 반사를 강조합니다. 분위기는 dreamy, delicate, whimsical, clean으로 유지하세요.
사용 방법
이 순서대로 진행하면 prompt를 그대로 복사하는 것보다 활용도 높은 결과를 얻기 쉽습니다.
특별히 선호하는 모델이 없다면 Google Imagen4(으)로 시작하는 것이 대체로 안정적입니다.
구도, 조명, 재질, 스타일 구조를 먼저 유지하고 피사체, 브랜드 정보, 사용 장면을 바꾸세요.
이미지 템플릿의 가장 큰 장점은 시행착오를 줄이는 것이므로 한 장만 생성한 뒤 결정하지 마세요.
템플릿 정보
현재 작업에 적합한 템플릿인지 빠르게 판단할 수 있습니다.
추천 활용 사례
이 템플릿은 다음과 같은 작업에 더 적합합니다.
포스터 및 표지
제품 및 브랜드 이미지
캐릭터 및 스타일 탐색
추천 모델
어떤 모델부터 사용할지 모르겠다면 작성자가 추천한 모델에서 시작해 보세요.
이 유형의 템플릿은 화면 구조를 먼저 유지한 뒤 피사체, 스타일 또는 비즈니스 요구 사항을 바꾸는 방식에 적합합니다. Google Imagen4(으)로 먼저 시작한 뒤 결과에 따라 같은 유형의 다른 모델로 전환해 보세요.
이 유형의 템플릿은 화면 구조를 먼저 유지한 뒤 피사체, 스타일 또는 비즈니스 요구 사항을 바꾸는 방식에 적합합니다. Google Imagen4(으)로 먼저 시작한 뒤 결과에 따라 같은 유형의 다른 모델로 전환해 보세요.
이 유형의 템플릿은 화면 구조를 먼저 유지한 뒤 피사체, 스타일 또는 비즈니스 요구 사항을 바꾸는 방식에 적합합니다. Google Imagen4(으)로 먼저 시작한 뒤 결과에 따라 같은 유형의 다른 모델로 전환해 보세요.
관련 템플릿
같은 유형의 템플릿을 비교하면 원하는 prompt 방향에 더 잘 맞는 템플릿을 찾기 쉽습니다.
평점 및 후기
먼저 로그인해 주세요