AI image and video uploads: format, crop and privacy
Before generating, check the current form and file preview. Review subject clarity, crop, reference consistency, usage rights, and private information.
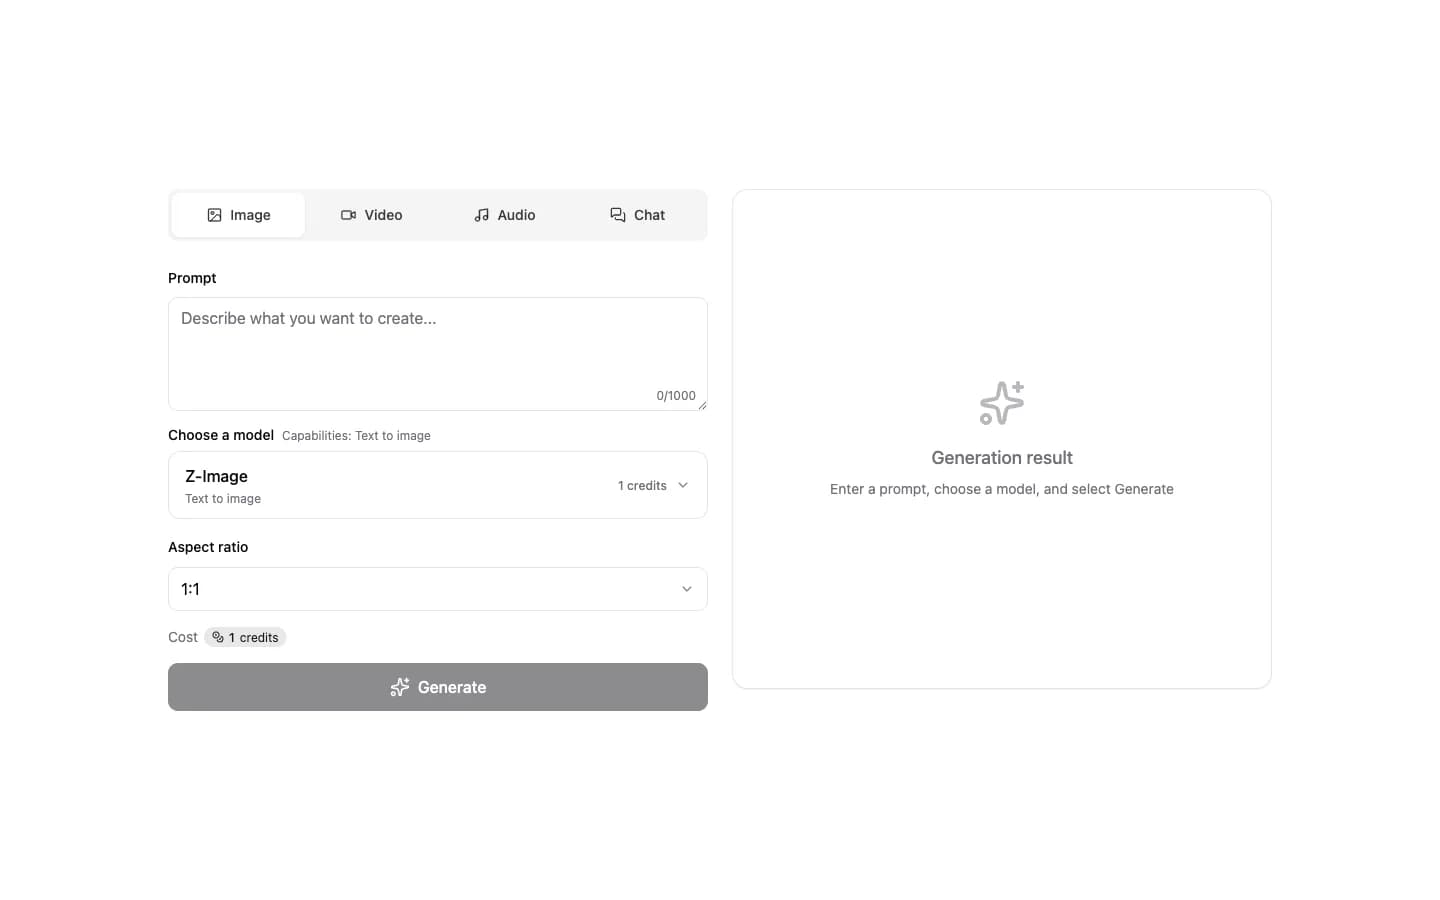
A successful upload only confirms that a file passed the entry check. It does not mean the media is a strong input for the generation you want. Subject size, complete edges, crop, lighting, compression, and conflicts between references can matter more than the file extension.
Supported formats, counts, duration, and size may differ by model and mode, so this guide does not freeze limits that can become outdated. Read the current upload control first, then use the quality and rights checks below before submitting a job.
1. Treat the current form as the source of truth
Choose the model and exact mode before checking its upload field. Read the file type, count, size, duration, and dimension guidance shown there. Do not carry a limit over from a different model, an older help page, or a past job. Text generation, editing, and image-to-video modes can expose different inputs even within one model family.
After upload, wait for a preview and inspect the thumbnail orientation, first frame, playback, and filename. If the form separates a start frame, end frame, subject reference, or style reference, put each asset in the field that describes its role. A file rename or aggressive compression cannot add an input capability that the current page does not offer.
2. Choose a stable file that previews correctly
Use a common, fully exported image or video rather than a project file, cloud placeholder, or partial download. Open it locally from start to finish. The image should decode without a repair warning; the video should play through, have the intended orientation, and not depend on one editing app to interpret its color correctly.
Repeated conversion damages texture, small text, and faces. Keep the original master and export one working copy for upload. Transparency and audio may not be used by every mode, even when they exist in the file. Confirm what survives in the preview and what the current form says instead of assuming every embedded feature will affect the output.
3. Keep the subject clear and its edges complete
Give the main person, product, or object enough area in the frame. Preserve the outline, hands, feet, hair, product corners, and clothing that the result must retain. A tiny, heavily blurred, backlit, or partly hidden subject makes identity retention, motion guidance, and local edits harder to evaluate. Text and logos must already be legible if exact preservation matters.
Remove chat chrome, social media controls, play buttons, and decorative borders before upload. Crop away the interface without cutting into the subject. For background removal or replacement, prefer a source where the outline is visually distinct and not joined to the background by motion blur or nearly identical color.
4. Plan the crop and target aspect ratio first
Decide whether the deliverable is landscape, portrait, or square, then prepare a source close to that shape. Turning a wide photo into a vertical output can remove both sides or require the system to invent areas outside the original. The risk grows when a head touches the top edge or a product already fills the frame.
Leave room in the direction of travel and for the intended camera move. If a person will walk right, avoid starting with the body against the right boundary. If the camera will pull back, include useful environmental cues that can extend. For multiple channels, test separate ratios from a safe master composition rather than expecting one render to protect every crop.
5. Keep multiple references consistent
Assign a job to every reference: identity, pose, product, clothing, composition, or visual treatment. Two files that disagree about hair, color, logo placement, or age force the model to resolve a conflict you did not define. Removing a duplicate or lower-quality reference often improves control more than adding another image.
Multiple views of one person or product should come from a similar time and version, with compatible color treatment. You can describe which reference supplies identity and which supplies composition only when the current mode actually supports those roles. Otherwise start with one strong reference and one clear transformation.
6. Review rights and privacy before upload
Upload only material you are entitled to use and submit for generative processing. Obtain the appropriate permission for another person’s likeness, a minor, client work, unreleased advertising, protected characters, or brand assets. If a stock library or partner supplied the media, confirm that the license covers modification, generation, and the intended commercial use.
Inspect the visible content for identity documents, addresses, plates, location details, contact information, health or financial data, and internal screens. Remove or mask sensitive details that the task does not need. Re-exporting a clean working copy can also reduce unnecessary metadata left by the camera or editing application.
7. Troubleshoot upload failures in order
Read the current field guidance again and confirm that the file is in the correct slot. Check that it opens fully on the device, that its extension matches the actual encoding, and that a cloud file has finished downloading. Then export a copy with a short filename and upload it alone to isolate one damaged item from a batch.
If upload succeeds but submission fails, record the model, mode, field, media type, approximate size or duration, time, and visible error. Do not change every input at once. Reproduce with one smaller file known to work so you can distinguish a file problem, browser session issue, and temporary service state without launching repeated, uninformative jobs.
Upload requirements FAQ
Which file formats and size limits are supported?
They can differ by model and mode. Follow the format, count, and size guidance shown in the current upload control instead of relying on another page or an older workflow.
Why is the result poor even though the image uploaded?
Common causes include a tiny subject, cropped edges, compression artifacts, backlighting, obstruction, or conflicting references. Fix the clearest issue first and retest with the same prompt.
Can I upload a file containing another person or a brand asset?
Only when you hold the necessary rights and permission. Remove unneeded personal data, location details, identity documents, contact information, and other sensitive content.
Start with one clean file and a small test
Open the current model, follow the upload control, and run the first job with a clear subject and one focused goal.