AI product images: references, backgrounds and QA
Build a repeatable workflow: define the shot, prepare references, write the prompt, choose a model, vary one factor, remove backgrounds or enhance, and inspect.
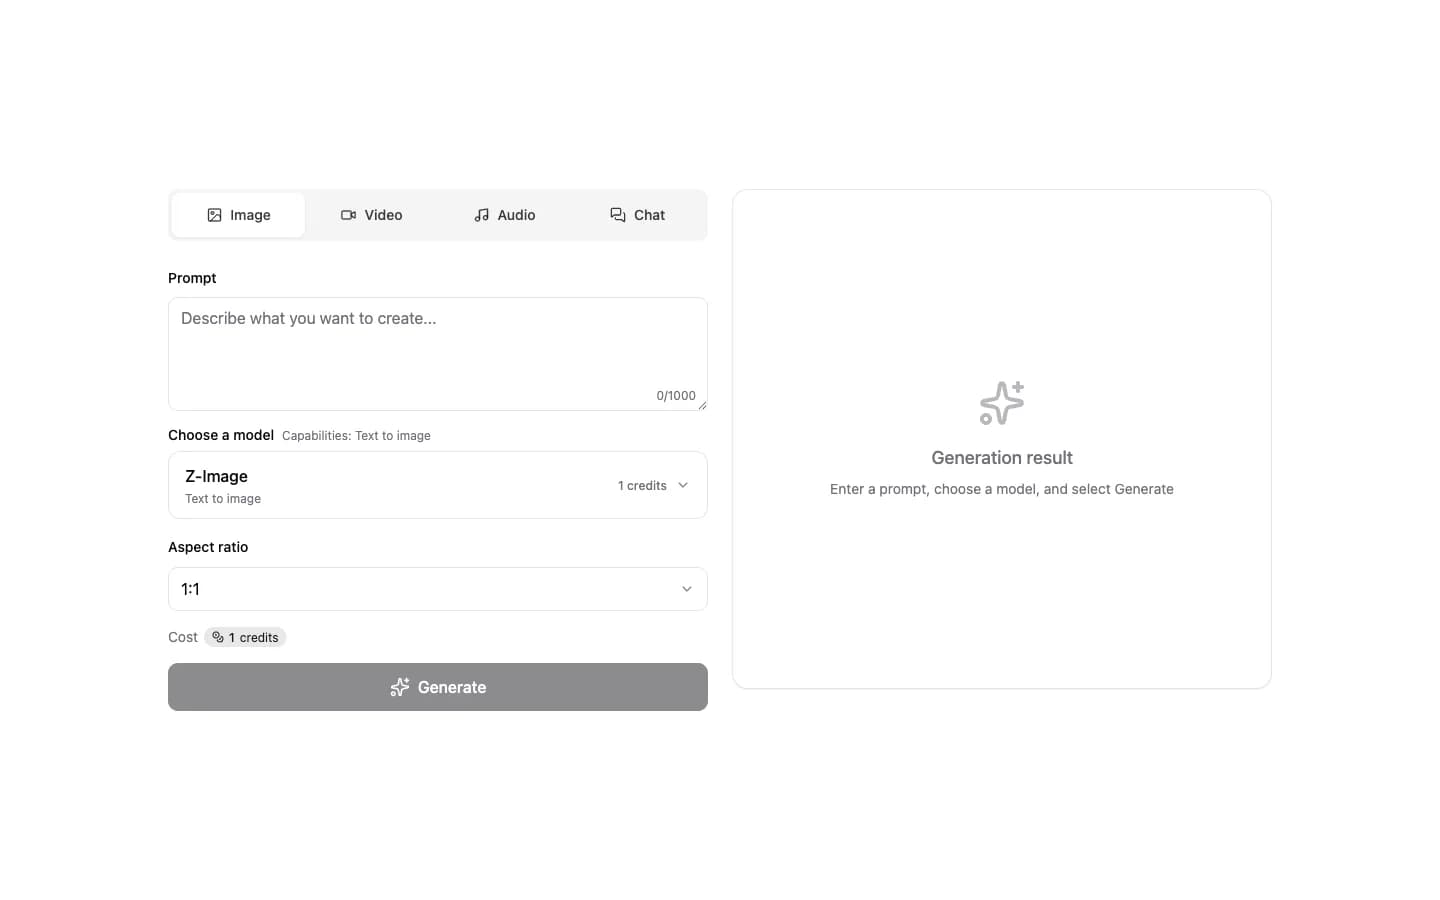
An AI product image is not a one-click, publish-ready advertisement. A dependable process normally includes a specification, clean references, generation or editing, a controlled sample, human quality review, and optional background removal or enhancement. Each is a separate task with its own input, credits, and failure boundary.
This workflow suits listing images, social assets, banner concepts, and product scenes. It does not replace brand rules, rights review, advertising compliance, or final graphic design.
1. Turn the product shot into acceptance criteria
Create a short specification: product, channel, ratio, minimum resolution, orientation, background, light, props, immutable geometry and color, and prohibited elements. Replace “premium” with observable direction such as soft side light, a low-reflection stone surface, and clear copy space on the right.
Set rejection rules: warped packaging, incorrect marks, wrong accessory count, color drift, floating contact, damaged transparent edges, or unsafe cropping. Without a rejection line, an attractive but unusable image can dominate the review.
2. Prepare clean and consistent references
Use sharp, lightly compressed photographs with the full product visible. When several angles matter, give each image a purpose and keep product version, size, color, and included accessories consistent. Mixing old and new packaging leaves the model without a single source of truth.
Remove irrelevant screenshot borders and obstructions, but do not obscure provenance or rights. Confirm permission to use product, trademark, and people imagery.
3. Write composition, light, and preservation rules
Structure the prompt as product and preservation rules, scene, composition, light, camera, and constraints. Preserve bottle proportions, label position, and cap color before describing the surface, gradient, side light, and negative space. Do not ask to transform package shape while also demanding an identical package.
Keep early props and style language restrained. Add seasonal decoration, splashes, hands, or complex reflections only after the product remains stable.
4. Choose a model by input and specification
For concept work from text, filter active text-to-image models by target ratio and resolution. To preserve a real item, choose image editing and check reference count, format, size, and output combinations. Do not infer on-site controls from capabilities available elsewhere.
For 4K delivery, verify that the selected ratio supports it. If a content-check control is required, confirm that the current form exposes one.
5. Generate comparable one-variable variants
Begin from one baseline and change only background, light, viewpoint, or props per round. Log model, date, prompt, references, ratio, resolution, estimate, and result. Saving only the winner makes success impossible to reproduce.
Raise resolution after composition passes. If identity keeps drifting, reduce the edit or change candidates instead of adding more adjectives.
6. Inspect product, copy, and edges
Review geometry, brand color, marks, readable copy, SKU, quantity, accessories, contact shadow, reflections, transparency, hands, and crop-safe areas at full size against a real product photo.
Generated output is not a guarantee of commercial rights, advertising compliance, or platform approval. Claims, prices, certifications, and legal copy must come from approved assets.
7. Remove backgrounds, enhance, and save reusable assets
Run background removal when a transparent asset is needed and enhancement or explicit upscaling when a larger file is required. These are separate requests, not an automatic pipeline, and every step can affect edges, copy, and material detail.
Archive sources, generation logs, approved versions, retouched files, channel crops, and review notes. A reusable template should name variables and locked elements, and every new product still needs an identity test.
AI product image workflow FAQ
Can an AI product image be published immediately?
Do not skip human review. Check package geometry, color, marks, copy, accessories, shadows, transparent edges, and channel rules, then repair where needed.
Should I generate from text or edit a product photo?
Start from a clean product reference when identity must be preserved. Text is useful for concepts. Validate either route on a small sample of the actual product.
Are background removal and upscaling one automatic step?
No. They are optional, separate processing tasks. Review the current input limits, credits, and output after each step.
Build the first reusable workflow around one real item
Prepare a baseline image, specification sheet, and QA list before generating.