Best AI video model for your workflow: how to choose
Choose by text or image input, references, audio, shot control, duration, resolution, credits, and retry cost—not by a generic ranking.
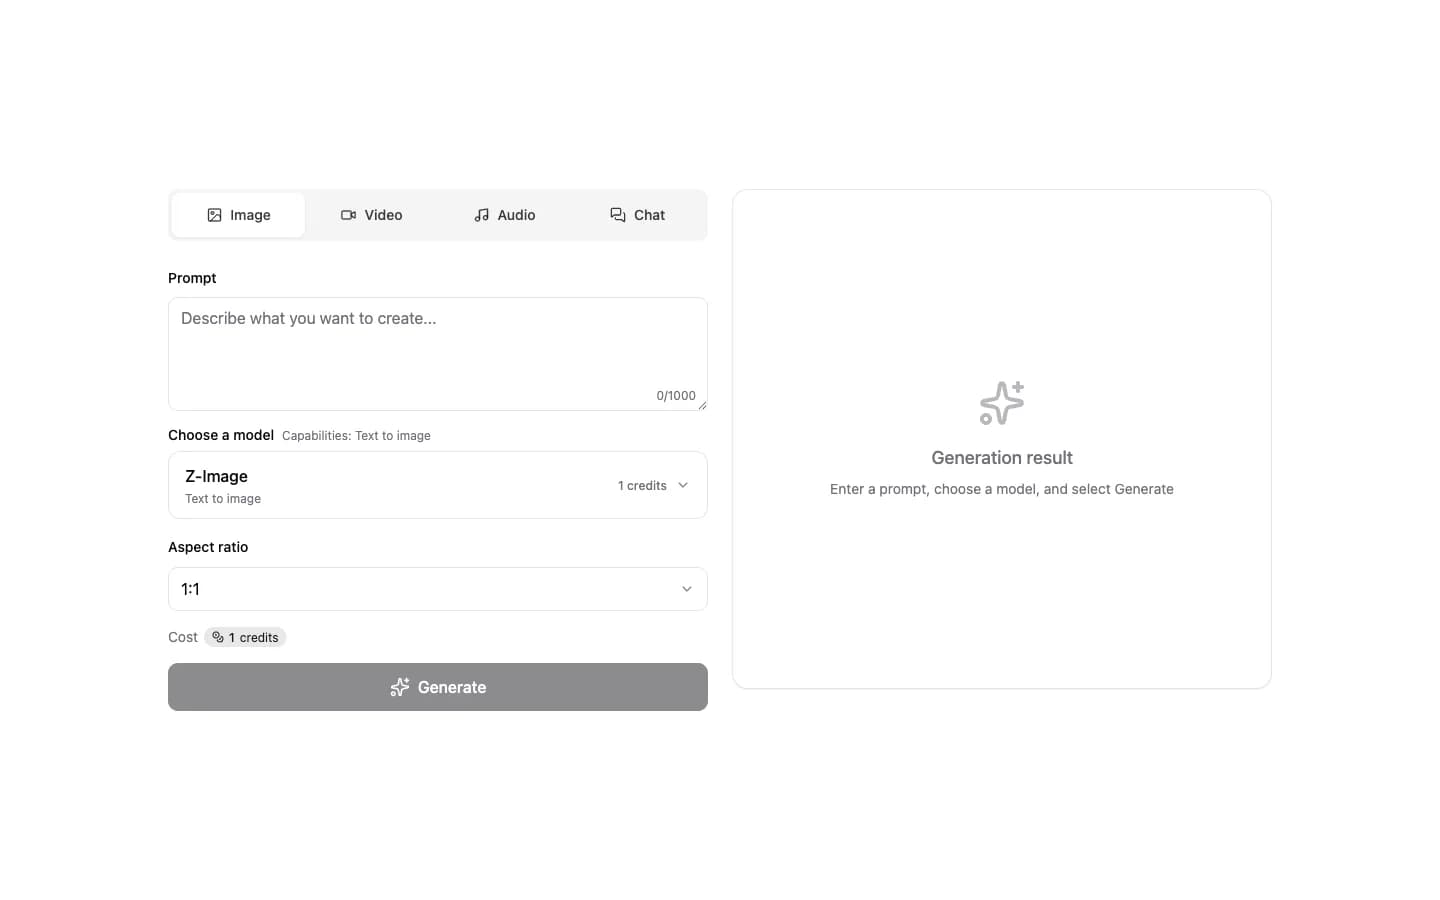
A search for the “best AI video model” usually returns a universal ranking. That ranking does not know whether you have a written brief, one product image, an existing character clip, or a set of visual and audio references. Each input narrows the models you can actually use, while each deliverable changes the importance of subject consistency, camera control, sound, duration, and resolution.
A more dependable method starts with the workflow, then checks the modes and controls exposed by the current model page and workbench. This guide does not name a permanent winner. It gives you a repeatable way to filter candidates and spend fewer credits finding the model that fits one real shot.
1. Start with the workflow, not a leaderboard
Write one sentence that can be accepted or rejected: “Animate this vertical portrait into a five-second slow push-in while keeping the face and clothing unchanged,” or “Create a landscape opening shot from text with an accompanying environmental track.” Include the source type, target ratio, approximate duration, primary action, and details that cannot drift.
Split the requirements into hard and soft constraints. A hard constraint makes delivery impossible when missing: first-and-last-frame input, a reference video, an audio output, or a required aspect ratio. A soft constraint can be handled later, such as a more elaborate transition, a higher resolution, or completing several shots in one task. Filtering by hard constraints is faster than working down a popularity list.
2. Test instruction and camera understanding for text-to-video
With no source image to anchor the subject, composition, or light, the prompt must carry more of the brief. Do not begin with an entire commercial. Use one short shot that exposes meaningful differences: a named subject, one action, a setting, camera distance, one main camera move, and a clear ending state.
Compare whether the model follows the action order, moves the camera in the requested direction, invents important objects, or lets the subject drift across a few seconds. If the first test combines several actions, multiple people, exact text, and a scene change, failure will not tell you whether the candidate is a poor fit or the brief was never separable.
The workbench shows the duration, ratio, resolution, and controls available through the current connected version. A similarly named model may expose more controls elsewhere; fields that are not present here should not be part of your test assumption.
3. Test subject retention for image-to-video
The key question is not simply whether the image moves. It is whether the moving subject still looks like the same person or product. For people, inspect the face, hands, clothing, and silhouette. For products, inspect package geometry, logo areas, material reflections, and edges. A tiny, obstructed, cropped, or already blurred subject gives the model more missing information to invent.
The first prompt should describe what happens next instead of repeating everything visible in the image. Keep one primary motion and name the elements that must stay fixed. If a workflow accepts first and last frames, the last frame can constrain the destination, but it does not guarantee a precise path through every intermediate frame.
Use the same source image and motion brief for every candidate. Record subject retention and action completion before discussing aesthetic preference, or one unusually attractive clip can be mistaken for reliable control.
4. Map control boundaries for references and editing
Multiple references help when a character, product, or setting must stay consistent, but support for several media types does not mean they can be combined freely. First frames, last frames, reference images, reference videos, and reference audio can belong to mutually exclusive scenes and may have separate count, format, size, duration, and ratio limits.
Open the candidate’s detail page and then inspect the live upload fields. Include only combinations the current form accepts. Give every source one job: identity, clothing, movement, rhythm, or environment. When references contradict each other, adding more files can reduce control rather than improve it.
For video editing, write both the requested change and the details to preserve. If you replace the setting, say whether the person, motion timing, and source sound should remain. Do not make a delivery plan depend on a control that the current mode does not expose.
5. Evaluate audio and multi-shot delivery
Audio generation, an included soundtrack, audio reference, and source-audio preservation are different capabilities. Ask four separate questions: can this task create sound, can sound be disabled, can audio be uploaded as a reference, and can an edit retain the original track? The current model page and workbench answer those questions; the model name does not.
Multi-shot delivery also depends on the actual structure. Some modes let you describe each shot and its duration, while others produce one continuous clip. For narrative work, make a shot sheet with the start, action, end state, audio role, and intended edit point. If a candidate is a single-shot tool, split the story instead of sacrificing reviewability for a one-run result.
Review picture and sound separately. A usable image does not make dialogue, effects, or timing publishable, and a convincing soundtrack does not repair an unstable character or product.
6. Count credits, speed, and rework together
Model cost should mean the average investment needed to obtain one usable shot, not the lowest price of one submission. Record the estimated credits, duration and resolution, completion time, whether the clip was usable, and how much editing or rerunning it required. A cheaper model that takes four attempts may cost more than a higher-priced candidate that fits the source.
Use short durations, standard or lower resolution, and limited media for the first round. The goal is to validate subject, action, and composition before paying for final specifications. Read the workbench estimate before submitting because billing can depend on seconds, resolution, mode, or media combinations; experience from another model is not a price rule.
Speed includes preparation, diagnosis, re-uploading, and manual repair—not just the number of minutes until the task completes.
7. Select with one shared test matrix
Choose two or three candidates that satisfy every hard constraint. Run a small sample with the same media, prompt, ratio, and as close a duration as the interfaces allow. Keep all runs, not only the strongest clip, and record subject retention, action completion, camera control, background consistency, picture-and-sound usability, per-clip cost, and rework time.
Avoid a false-precision total score. “Two of three clips kept the product stable, but every camera move was faster than requested” is more useful than “8.7 out of 10.” End with a conditional decision: “Use candidate A for these vertical first-frame product clips; move to candidate B when the job requires reference video or multiple shots.”
Availability, settings, and credits can change. Save the test date and check the live pages again before an important batch. The useful “best model” is the one that has passed the same-input test for your current workflow, with explainable cost and results above your acceptance line.
AI video model selection FAQ
Is one model best for every AI video task?
No. Text-to-video, image animation, character reference, motion transfer, audio generation, and editing require different inputs and controls. Define the deliverable, then filter to models that currently support it.
Should I choose the newest version or the cheaper one?
Version age does not replace task testing. Compare usable rate, subject retention, motion, camera, and audio on a low-risk sample, then include average retry count in the cost.
How do I compare two video models fairly?
Use the same media, prompt, ratio, and similar output goal. Run a small sample and record usable results, not only the best clip. Follow current model pages and workbench controls.
Run a small model selection test for one real shot
Filter to active models that support the input, then compare them with the same source and acceptance sheet.