Your first Kyeo AI creation: from choosing a model to reviewing the result
Follow the real public interface to plan a task, choose a model and mode, prepare source files, check the credit cost, submit a generation, and learn from the result.
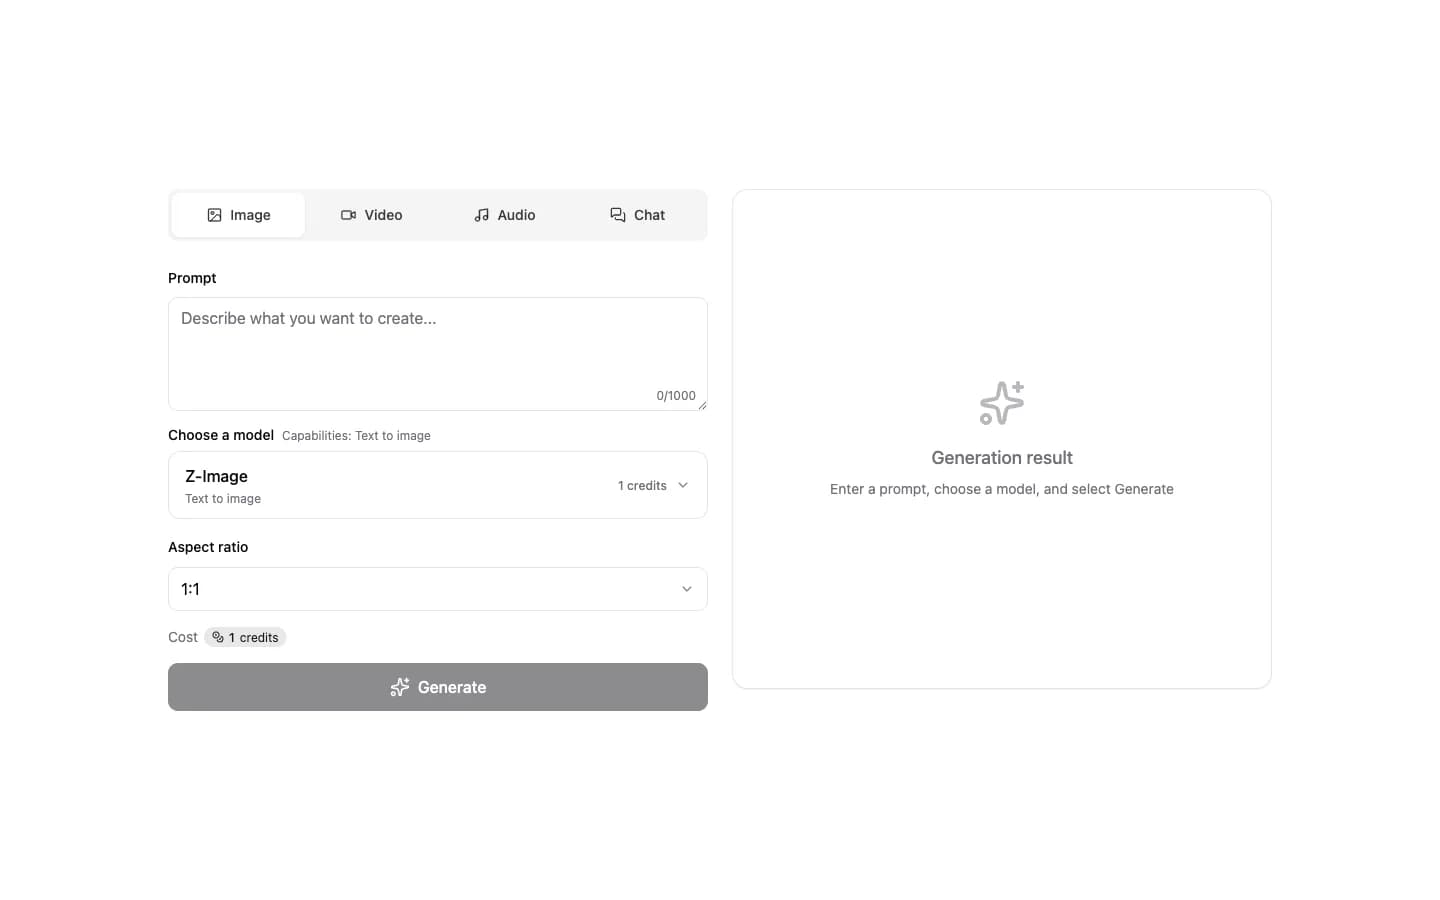
Kyeo AI puts image, video, audio, and chat models in one workbench. That saves you from moving between several products. It also means each model can ask for different inputs, expose different controls, and use credits differently. Two minutes of planning before your first run is usually faster than repeated guessing.
You do not need to understand every model parameter to follow this guide. Know what you want to make, what source material you already have, and which details cannot change. The workbench reveals the relevant fields for the selected model and mode; the live form always takes priority over general advice.
1. Start with the type of output you need
The home workbench groups models into image, video, audio, and chat. Choose the kind of output first, then the model. If you already have a product image and want to animate it, begin with an image-to-video mode—not another image-editing model.
If the goal still feels vague, write down three things: what the output is, who it is for, and what must be preserved. Those answers shape the aspect ratio, duration, source files, and model choice.
2. Check status and limits in the Model Hub
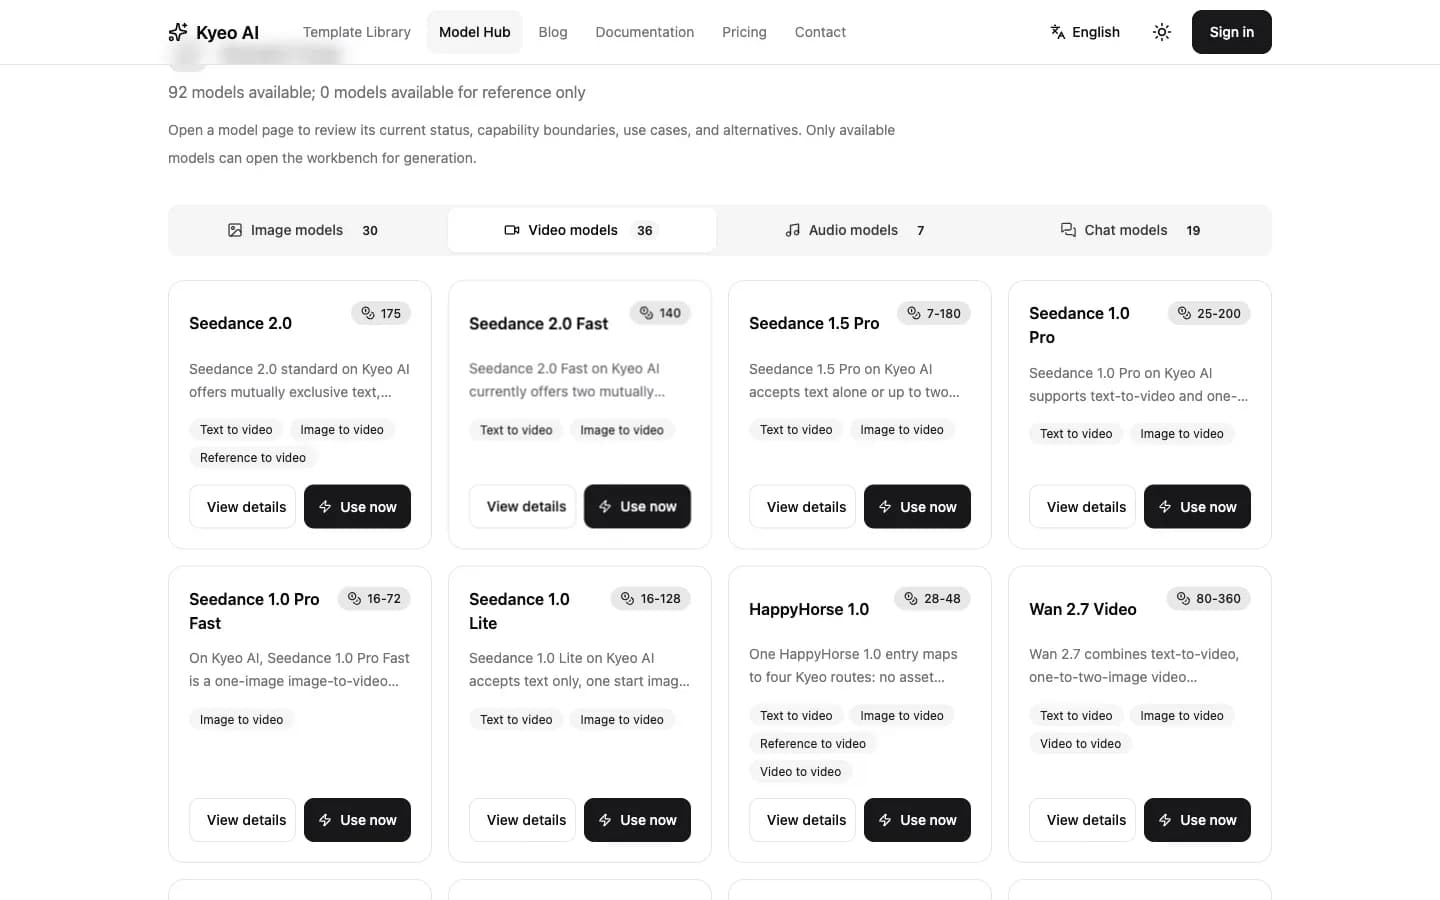
The Model Hub groups image, video, audio, and chat models. Cards distinguish models that are available online from pages kept for reference. A detail page explains use cases, input requirements, settings, credit ranges, limitations, and alternatives.
Do not choose by name alone. Related versions can support different modes or have different duration, resolution, and source requirements. Use the detail page to shortlist options, then treat the current workbench fields and cost as authoritative when you submit.
3. Return to the workbench and choose a model and mode
Once you choose a model, the workbench loads its supported generation modes and settings. Text-to-image, image-to-image, text-to-video, image-to-video, and reference-based generation are not interchangeable labels. They determine whether an upload is required and how much work the prompt must do.
Complete every field marked as required before submitting. Some models allow an empty prompt, while others enforce a minimum length. Do not assume the rule from another model applies here.
4. Draft the prompt with subject, action, setting, and form
The first prompt can be short. For an image, describe the subject, composition, light, and visual form. For video, add the subject’s action and the camera movement. For audio, describe the content, mood, rhythm, or intended setting. Prefer observable details over empty adjectives such as “premium,” “stunning,” or “perfect.”
- Subject: the central person, object, scene, or sound.
- Action: what it does; omit this for a purely static image when appropriate.
- Setting: place, time, light, atmosphere, or background sound.
- Form: aspect ratio, camera, style, pacing, or intended use.
5. Upload source files and check credits before submitting
Upload only what the selected mode requests, and make sure you have the right to use any people, brands, music, or other material in those files. Clear source material makes it easier to tell why a result differs from the brief. Consider whether private or sensitive material belongs in an online generation service at all.
The workbench estimates credits from the model and selected settings. Duration, resolution, quality tier, or generation mode may change the cost. For a first test, keep defaults or smaller options where appropriate. You are validating the direction, not maximizing every setting.
6. Sign in, submit once, and wait for the status to update
You can browse models and fill parts of the form while signed out, but you need to sign in to submit a generation. After submitting, avoid clicking repeatedly. Processing time varies by model, source material, settings, and service conditions.
The result area and Creations page show task status. If a failed task receives a completed credit refund, the record states that explicitly. Do not infer failure from elapsed time alone.
7. Review the result before generating again
When a result misses the brief, classify the issue first: unstable subject, wrong action, mismatched style, shifted composition, poor audio structure, or simply insufficient resolution. Change one main variable at a time so the second run gives you a useful comparison.
Successful results remain available in your creation records and can be downloaded or reused when the current feature supports it. Saving the working prompt, model, and key settings is more useful for future work than keeping the output alone.
Getting-started questions
Do I need an account to browse models?
No. The public Model Hub and detail pages are available without an account. You need to sign in when you submit a generation task.
Why does the form change when I switch models?
Models support different modes, uploads, and parameters. The workbench loads the relevant fields for the current model instead of sending unsupported settings.
What happens to credits if generation fails?
Use the task record as the source of truth. When the system completes a refund, the result area marks the credits as refunded. Contact support if a status remains abnormal for an extended period.
Try one small, measurable task
Review the model’s inputs and limits first, then return to the workbench and run a first test with a concise prompt and sensible default settings.