![Canonical [BRAND NAME] logotype sculpted from optical crystal with rainbow dispersion against an absolute black background](https://kyeo.ai/uploads/templates/brand-name-optical-crystal-logo-type/brand-name-optical-crystal-logo-type-preview.jpg)
Image template
Free to view, copy, and apply; generation uses credits
Featured
[BRAND NAME] Optical Crystal Logo Typography
Start with the recommended models, use cases, and steps, then decide how to apply the template directly.
Official template0 views
Ecommerce Product Images
Infographics and Diagrams
Product
Product Scene
Brand Key Visual
Packaging Display
Studio Lighting
Minimal
Template type
Image template
Usage access
Free to view, copy, and apply; generation uses credits
Created
06/15/2026
Rating
No ratings yet
Template overview
These templates work best when you keep the visual structure, then replace the subject, style, or commercial goal. Start with Ideogram V3, then switch to a similar alternative based on the result.
Recommended models
If you are unsure which model to use first, start with one of the author's recommendations.
Ideogram V3
Nano Banana 2
Nano Banana Pro
Prompt
Start with the recommended models, use cases, and steps, then decide how to apply the template directly.
Create a hero crystal typography visual for a [BRAND NAME] luxury brand campaign. Work as a CGI Optical Physicist and 3D Type Sculptor, referencing James Turrell light installations, optical physics photography, and Rick Owens × crystal aesthetics. PHASE 0 — CANONICAL LOGOTYPE Reconstruct the 100% canonical, trademark-accurate logotype of [BRAND NAME] from training data. Preserve the exact proprietary typeface or custom lettering, stroke weight, curve tension, terminal detail, and unique glyph modification. Do not substitute a similar typeface. If [BRAND NAME] has a primary symbol or emblem, place it above the wordmark or integrate it with the wordmark according to the official logo lockup. The fidelity test is whether a brand lawyer would recognize it as the correct logo. PHASE 1 — CRYSTAL CONSTRUCTION Turn the canonical logotype of [BRAND NAME] into a fully 3D sculptural object. The only permitted material is optical crystal glass—not metal, plastic, or rubber. Use optical borosilicate glass or synthetic crystal with IOR 1.85 to 2.1 and maximum dispersion coefficient. Give every glyph genuine volume and thickness with a consistent cross-section, as if carved from a single block of optical glass. Make the primary surfaces sub-micron smooth, mirror-flat, and fully refractive. Keep every edge sharp and precise and the core optically pure, with zero bubbles and zero inclusions. WEAR & IMPERFECTION SYSTEM — RESTRAINED - Micro-scratches: Add sparse hairline scratches with a depth equivalent to 0.01 to 0.05mm, visible only from specific angles. - Edge chips: Add 2 to 4 very minor edge micro-chips, each no larger than 0.5mm equivalent. - Surface haze zones: Add 1 to 2 small areas of fine surface abrasion at 3 to 8% opacity maximum. - Fingerprint ghosts: Optionally retain 1 partial fingerprint trace as a faint oily interference pattern. Keep every imperfection at surface-level. The internal crystal volume must remain optically perfect. PHASE 2 — CHROMATIC DISPERSION Direct a single collimated light source from the upper-left at 35°, like a precision studio spot or filtered sunlight. As light passes through the crystal glyphs, create full chromatic dispersion that follows Snell's law geometry. Each polished face must both reflect and refract. Preserve the spectral order: red, orange, yellow, green, blue, violet. Make the rainbow bands laser-clean at their origin, then show progressive softening and widening as they propagate. Let micro-scratch zones create scattered light filaments. Use internal reflections to form crossed and layered rainbow patterns inside the glyphs, with 3 to 5 distinct rainbow events visible in each major glyph. Let every sharp edge produce a thin intense white-blue luminous line, while edge chips create micro-flare interruptions. Add chromatic aberration to every edge, with a red fringe and a blue-violet fringe. PHASE 3 — ABSOLUTE BLACK VOID Use a pure absolute black background (#000000 to #050505) with no texture, no gradient, and no reflected light. Suspend the letters in a void. Light may exist only inside and immediately around the glyphs, with a subtle colored haze at a radius of 2 to 4cm. PHASE 4 — COMPOSITION AND FOCUS Set the logotype at a subtle nearly frontal 3/4 angle, with the horizontal axis at approximately 5 to 10° and the vertical axis elevated 5 to 10°. It should read as nearly frontal while still revealing its thickness and top face. Center it horizontally and let the logo occupy 60 to 70% of frame width. If an emblem exists, keep the full lockup visible. Choose an aspect ratio of 1:1 square or 4:5 portrait based on the [BRAND NAME] lockup proportions. Keep the entire image in full sharp focus with no depth of field. At 400% zoom, the viewer must be able to see scratch filaments, micro-chip geometry, secondary internal reflections, and fingerprint interference patterns. PHASE 5 — PHYSICALLY ACCURATE RENDER Use Octane Render with full caustics enabled and ray tracing minimum 16 bounces. Make dispersion a physically accurate wavelength-dependent IOR spanning the visible light range from 380nm to 700nm. Build micro-scratches with actual surface geometry displacement. Use caustics maximum intensity, subsurface contribution minimal, anti-aliasing maximum, and sampling minimum 2048 samples per pixel. Use no post-process glow filters, no color grading, and no compositing tricks. The final result must feel like physically accurate crystal typography: every imperfection intentional, every photon accounted for.
How to use it
Following this sequence usually produces a usable result faster than copying the prompt without a plan.
1
Start with a recommended model
If you do not have a preference, starting with Ideogram V3 is usually a reliable choice.
2
Keep the structure, replace the details
Preserve composition, lighting, materials, and style, then replace the subject, brand information, and use case.
3
Compare at least 2 or 3 results
Image templates are most valuable when they speed up iteration, so do not judge the direction from a single result.
Template details
Quickly decide whether this template fits your current task.
Template type
Image template
Usage access
Free to view, copy, and apply; generation uses credits
Created
06/15/2026
Rating
No ratings yet
Best for
This template works especially well for the following tasks.
Posters and covers
Useful for event graphics, social covers, campaign posters, and key visuals.
Product and brand images
Useful for ecommerce main images, brand visuals, and product variations.
Character and style exploration
Create samples for characters, illustrations, scenes, and style directions.
Recommended models
If you are unsure which model to use first, start with one of the author's recommendations.
Ideogram V3
IMAGE
These templates work best when you keep the visual structure, then replace the subject, style, or commercial goal. Start with Ideogram V3, then switch to a similar alternative based on the result.
Nano Banana 2
IMAGE
These templates work best when you keep the visual structure, then replace the subject, style, or commercial goal. Start with Ideogram V3, then switch to a similar alternative based on the result.
Nano Banana Pro
IMAGE
These templates work best when you keep the visual structure, then replace the subject, style, or commercial goal. Start with Ideogram V3, then switch to a similar alternative based on the result.
Related templates
Compare templates of the same type to find the prompt direction that fits you best.
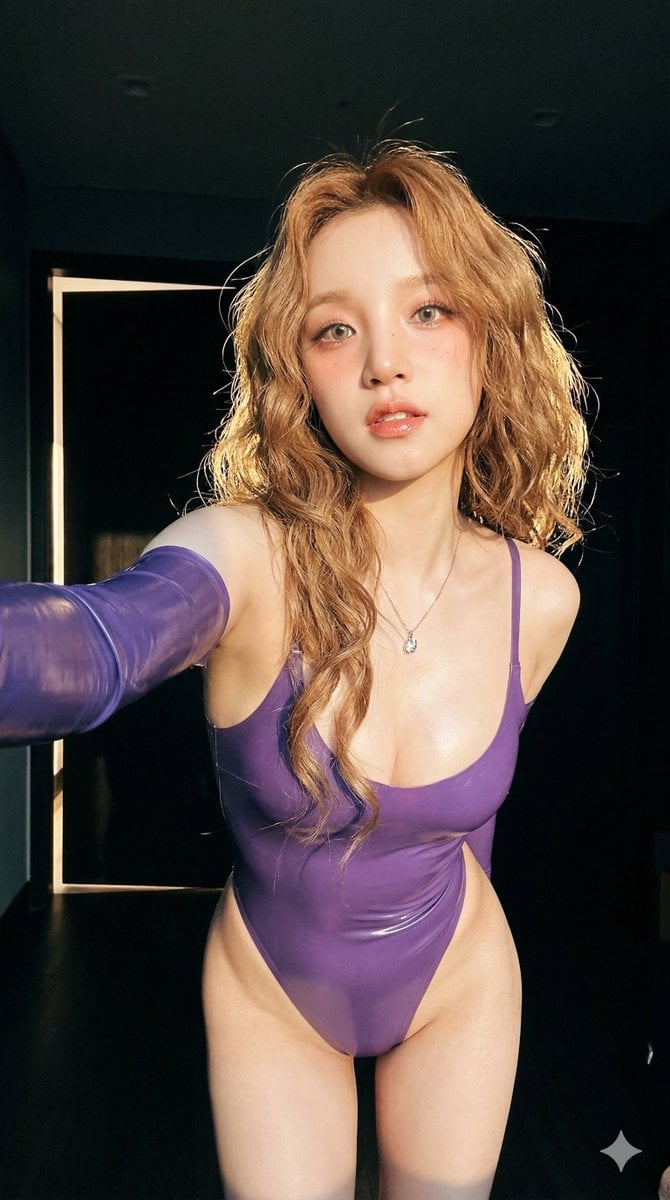
Image template
Featured
(G)I-DLE Yuqi Golden-Light Fashion Selfie
No ratings yet
Scene Photography
Realistic Photography
Cinematic

Image template
Featured
Dream of the Red Chamber: Lin Daiyu Silhouette Story Poster
No ratings yet
Posters and Covers
Campaign Poster
Typography Layout
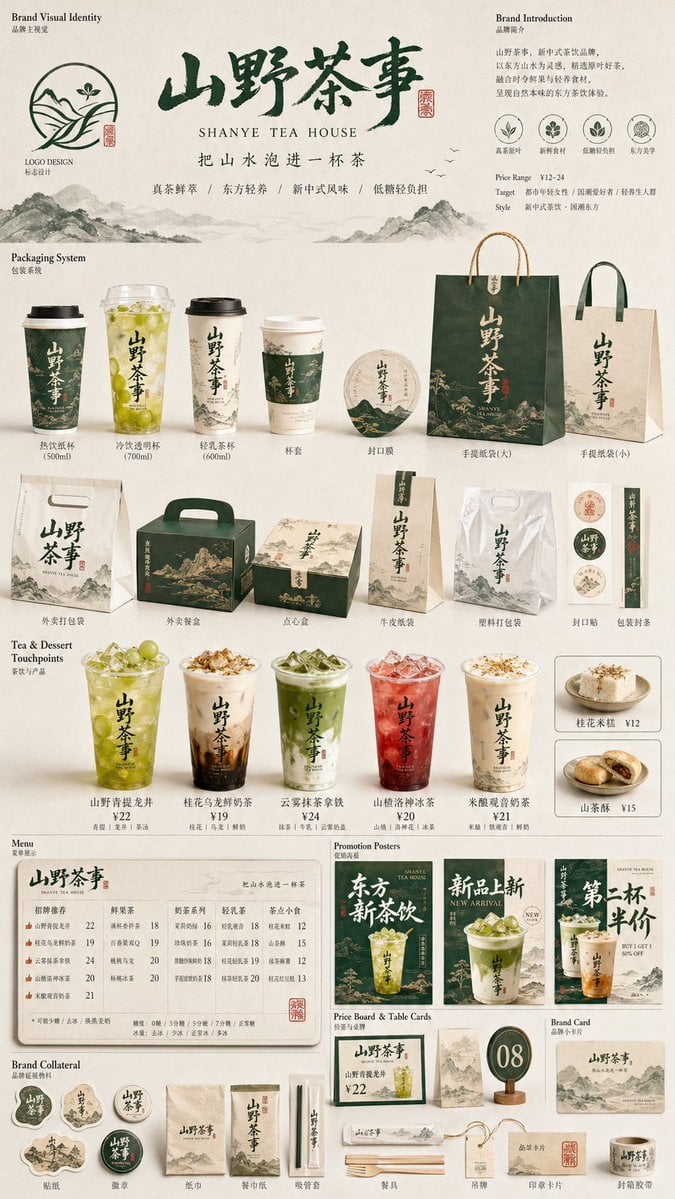
Image template
Featured
Restaurant Brand Touchpoint Matrix
No ratings yet
Posters and Covers
Campaign Poster
Typography Layout
Ratings and feedback
No ratings yet
Please sign in first