Image template
Free to view, copy, and apply; generation uses credits
Featured
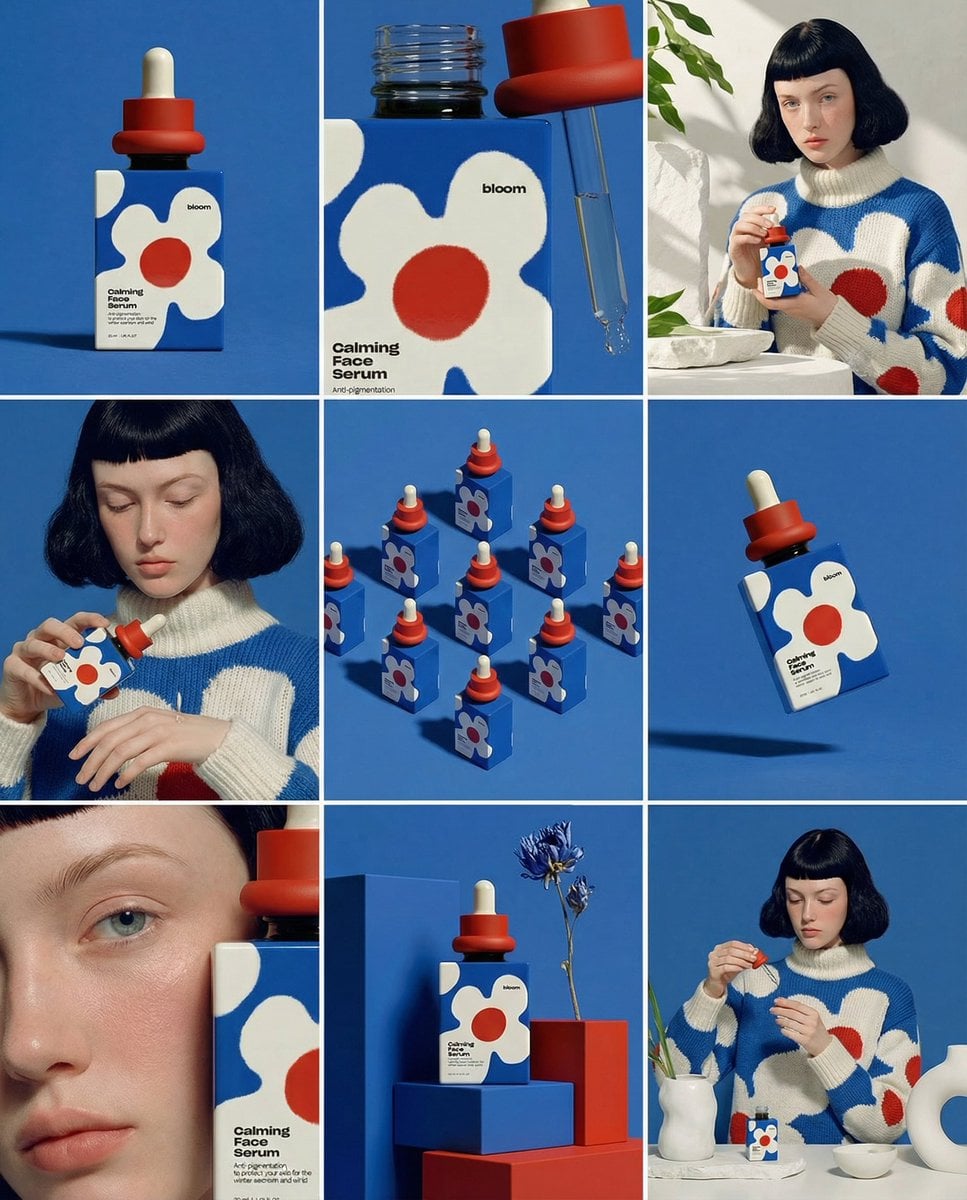
Reference-Product 3×3 Brand Storyboard
Start with the recommended models, use cases, and steps, then decide how to apply the template directly.
Official template0 views
Ecommerce Product Images
Portrait Photography
Infographic
Typography Layout
Logo Inspiration
Social Post
Minimal
Product
Template type
Image template
Usage access
Free to view, copy, and apply; generation uses credits
Created
06/15/2026
Rating
No ratings yet
Template overview
These templates work best when you keep the visual structure, then replace the subject, style, or commercial goal. Start with Nano Banana 2, then switch to a similar alternative based on the result.
Recommended models
If you are unsure which model to use first, start with one of the author's recommendations.
Nano Banana 2
Nano Banana Pro
Nano Banana
Prompt
Start with the recommended models, use cases, and steps, then decide how to apply the template directly.
Create ONE final image. On a [4:5] ratio canvas, build a clean 3×3 [ratio] storyboard grid with nine equal-size panels, each maintaining the same [ratio]. Use the reference image as the base product reference. Across all nine panels, preserve the same product, packaging design, branding, materials, colors, proportions, and overall identity. Do not alter the label, logo, or their proportional relationships. Keep the product clearly recognizable in every frame. Present the result as a high-end designer mockup for a branding portfolio, emphasizing form, composition, materiality, and visual rhythm rather than lifestyle storytelling. FRAME 1: A front-facing hero studio shot. FRAME 2: Focus on the product's central texture, materials, and print details. FRAME 3: Place the reference product in a studio environment that naturally fits the brand and product category. FRAME 4: Show the product in use or in a subtle interaction; keep hands and other interactive elements minimal and restrained. FRAME 5: Arrange multiple products in precise geometric formation from a top isometric angle, with balanced spacing. FRAME 6: Let the product float at a slight tilt against a neutral background, using colors that correspond to the reference image. FRAME 7: Create an extreme close-up of the label, edge, texture, or material behavior. FRAME 8: Place the product in an unexpected yet aesthetically strong setting that feels bold, editorial, studio-based, and designer-driven. FRAME 9: Use a wide composition to show the product in use within a refined designer setup, with clean props consistent with the series. Camera and style: Use ultra-high-quality studio imagery with a real-camera look. Vary the camera angle and framing in every panel while maintaining controlled depth of field, precise lighting, and accurate materials and reflections. Unify all nine panels through the same lighting logic, color palette, mood, and visual language. Output a clean 3×3 grid with these constraints: no borders, no text, no captions, no watermarks.
How to use it
Following this sequence usually produces a usable result faster than copying the prompt without a plan.
1
Start with a recommended model
If you do not have a preference, starting with Nano Banana 2 is usually a reliable choice.
2
Keep the structure, replace the details
Preserve composition, lighting, materials, and style, then replace the subject, brand information, and use case.
3
Compare at least 2 or 3 results
Image templates are most valuable when they speed up iteration, so do not judge the direction from a single result.
Template details
Quickly decide whether this template fits your current task.
Template type
Image template
Usage access
Free to view, copy, and apply; generation uses credits
Created
06/15/2026
Rating
No ratings yet
Best for
This template works especially well for the following tasks.
Posters and covers
Useful for event graphics, social covers, campaign posters, and key visuals.
Product and brand images
Useful for ecommerce main images, brand visuals, and product variations.
Character and style exploration
Create samples for characters, illustrations, scenes, and style directions.
Recommended models
If you are unsure which model to use first, start with one of the author's recommendations.
Nano Banana 2
IMAGE
These templates work best when you keep the visual structure, then replace the subject, style, or commercial goal. Start with Nano Banana 2, then switch to a similar alternative based on the result.
Nano Banana Pro
IMAGE
These templates work best when you keep the visual structure, then replace the subject, style, or commercial goal. Start with Nano Banana 2, then switch to a similar alternative based on the result.
Nano Banana
IMAGE
These templates work best when you keep the visual structure, then replace the subject, style, or commercial goal. Start with Nano Banana 2, then switch to a similar alternative based on the result.
Related templates
Compare templates of the same type to find the prompt direction that fits you best.
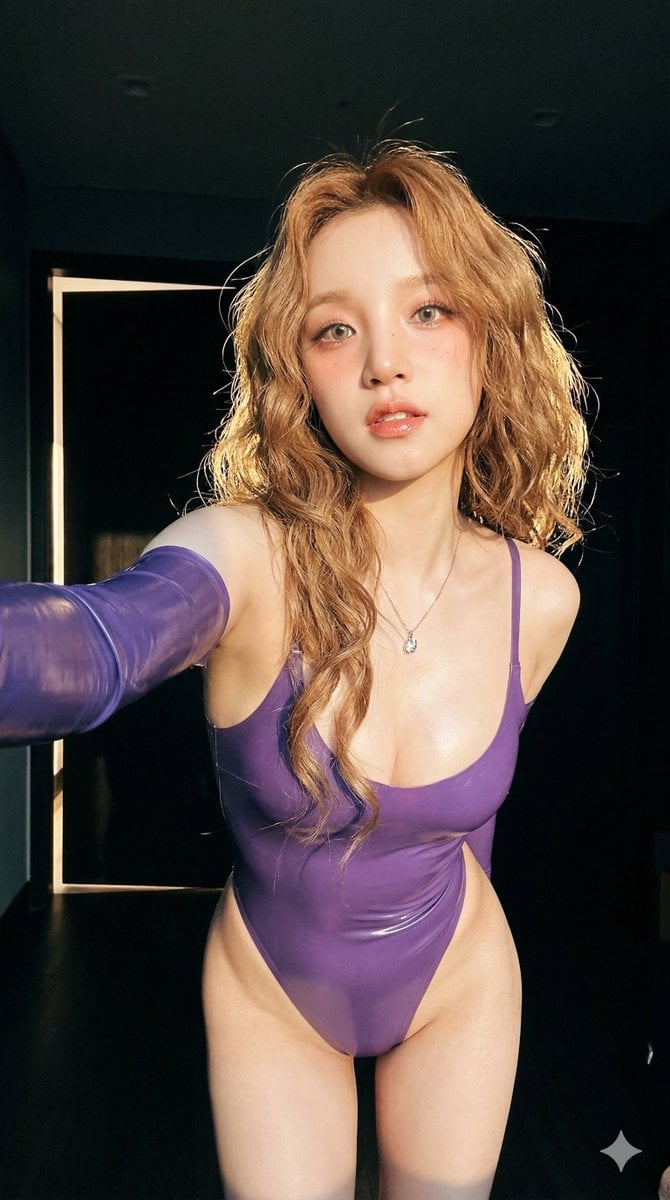
Image template
Featured
(G)I-DLE Yuqi Golden-Light Fashion Selfie
No ratings yet
Scene Photography
Realistic Photography
Cinematic
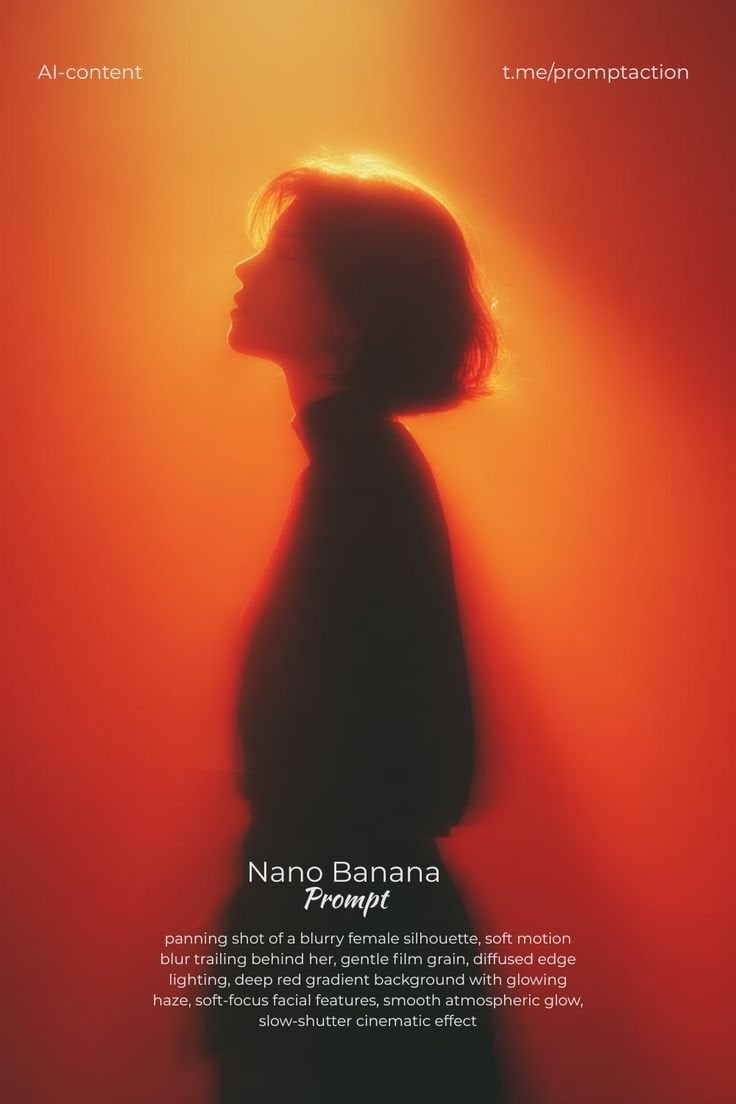
Image template
Featured
Cinematic Woman Silhouette with Red Motion Trails
No ratings yet
Portrait Photography
Realistic Photography
Cinematic
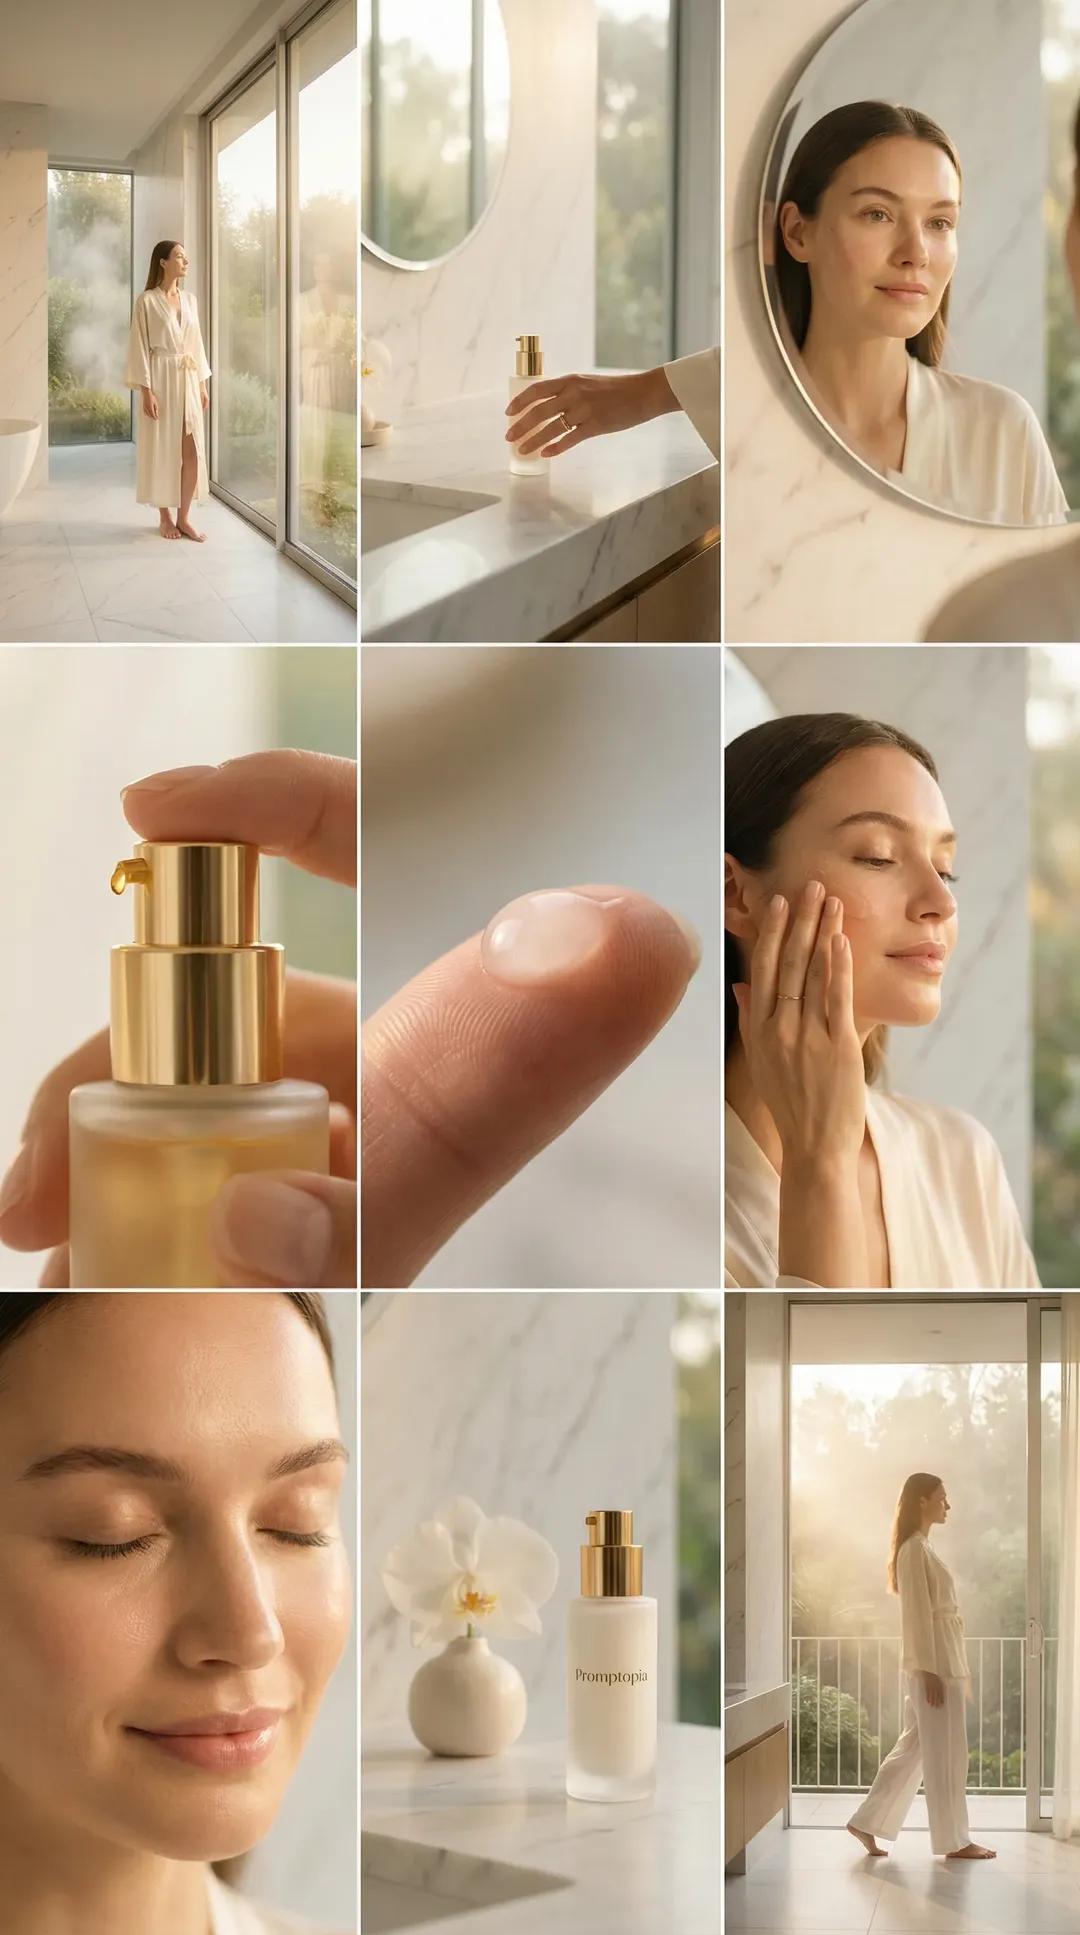
Image template
Featured
Promptopia Serum Bathroom Nine-Shot Collage
No ratings yet
Ecommerce Product Images
Product
Product Scene
Ratings and feedback
No ratings yet
Please sign in first